
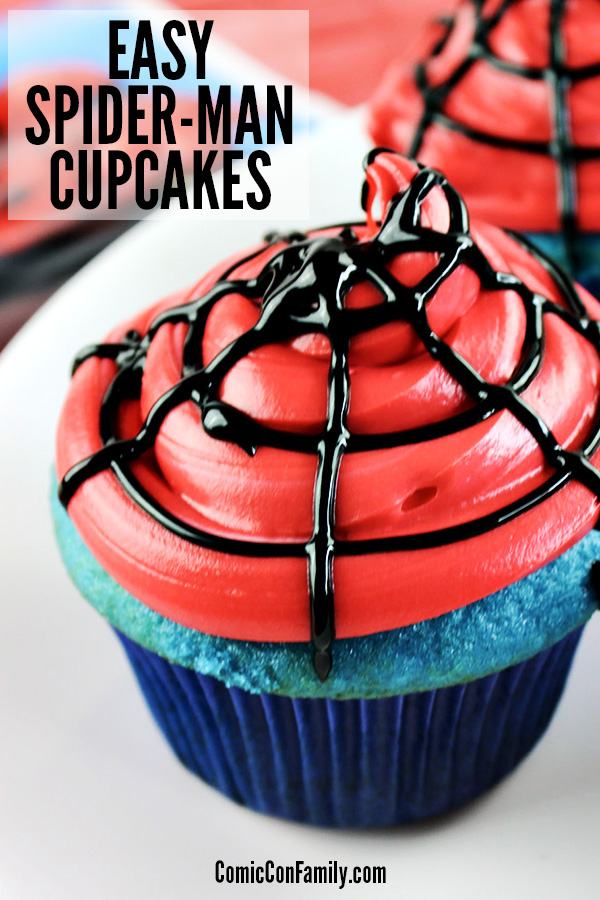
Celebrate the upcoming release of Spider-Man: Into the Spider-Verse with these Easy Spiderman Cupcakes!
This post contains some affiliate links for your convenience. Click here to read our full disclosure policy.
In just a couple weeks, one of the movies we’re looking most forward to will be hitting theaters: Spider-Man: Into the Spider-Verse! We attended the San Diego Comic-Con panel for it and we loved the extended peek at the movie, as well as hearing from those who worked on the movie. Visually, this movie will surely be the first of its kind! We are so excited about it that I wouldn’t be surprised if it becomes one of our top favorite Spider-Man movies.

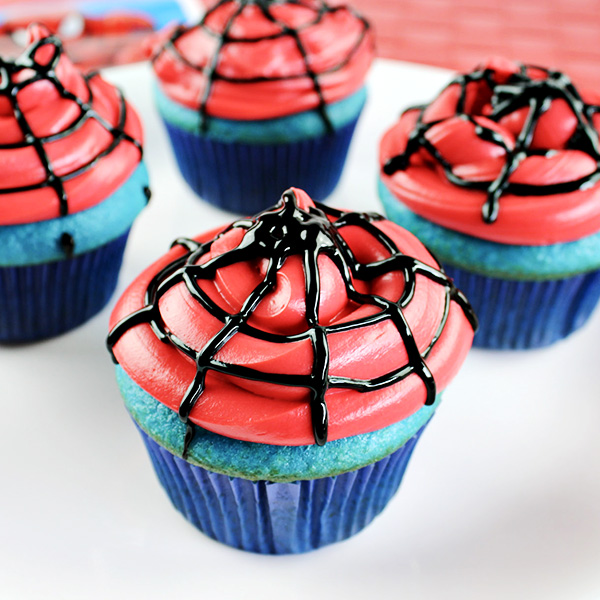
While we are waiting for Spider-Man: Into the Spider-Verse, we have some fun cupcakes for you to make to celebrate the upcoming release on December 14th, 2018. These easy Spiderman Cupcakes are very easy to make at home and you’ll only need a few ingredients and supplies. When you’re done, you’ll have cupcakes that will make any Spider-Man fan happy.
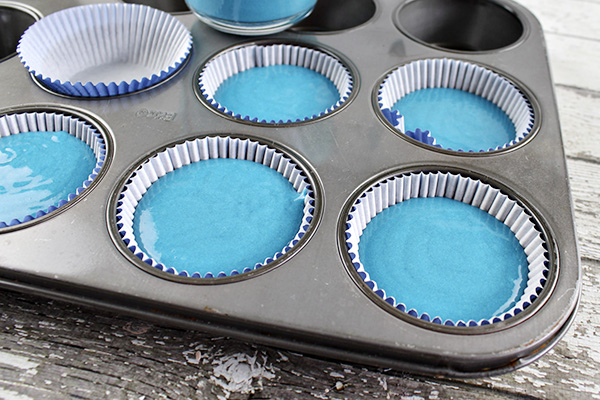
For your Easy Spiderman Cupcakes, you’ll need a blue cake mix. For this project, Pillsbury Funfetti Aqua Blue Cake Mix was used, but if you can’t find that at, you can use a box of white cake mix and color it with blue food coloring gel.
You will also need:
- white frosting
- black decorating gel
- red food coloring gel (we recommend a gel paste – NOT liquid food coloring)
Prepare your cupcakes according to the packaging. See, I told you this was easy!
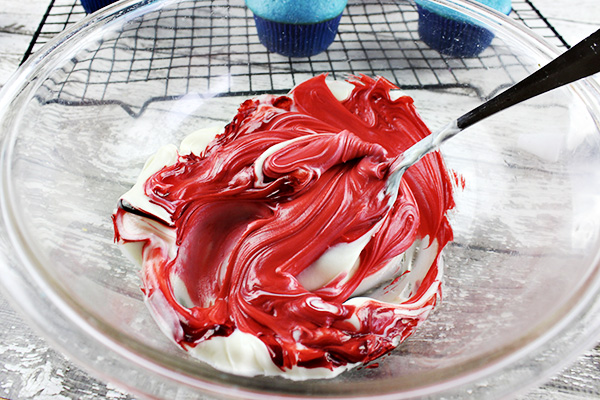
Take your entire container of frosting and spoon it into a bowl. Add a few drops of red food gel to the frosting and stir until combined. Add a few more drops, if needed, until you get the frosting to the color that you prefer.
NOTE: We recommend a gel paste food color because it won’t thin out or break down the frosting. It is also highly concentrated, so you won’t have to use as much as you would with liquid food coloring.
Spoon your frosting into a zipper-style plastic bag or into an icing bag. Cut off the tip (or one corner of the zipper-style bag). Squeezing a mound of icing in the center of the cupcake. Squeeze the bag to push out more frosting and apply it around the mound of frosting. Continue adding frosting in 2-4 more circle layers, making each round slightly smaller than the previous one to form a peak at the top of the cupcake.
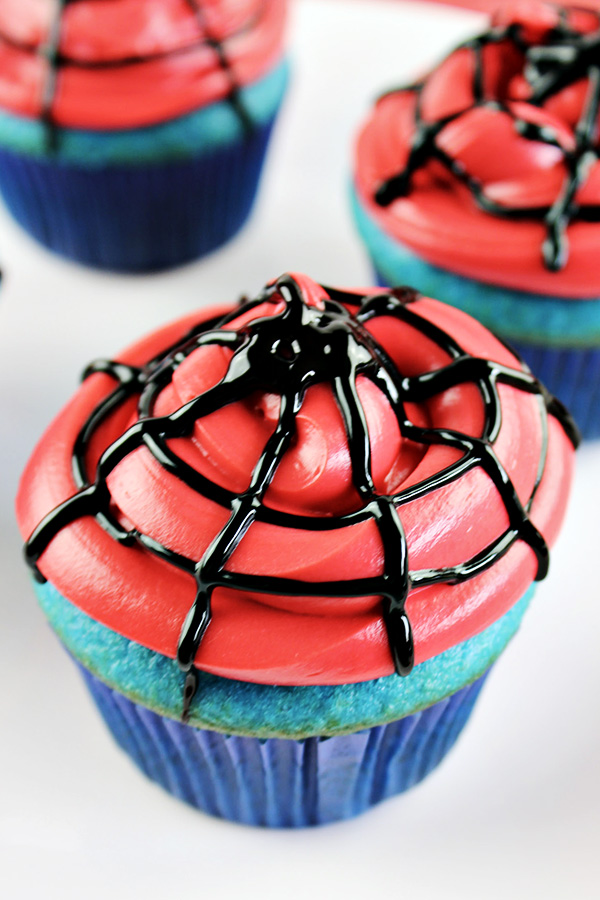
Use the black icing gel to create a spider web by drawing 3 circles on top and then about 8 lines across the circles.
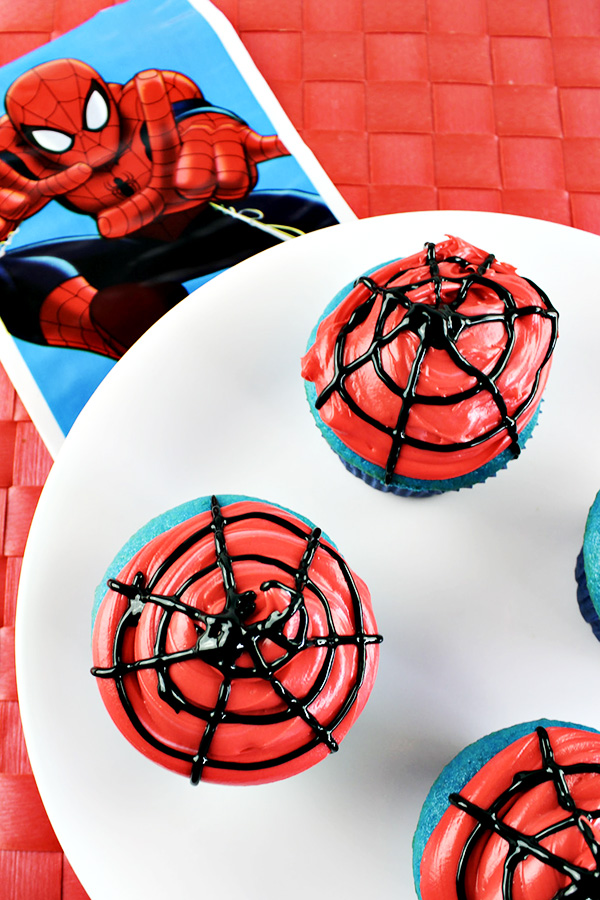
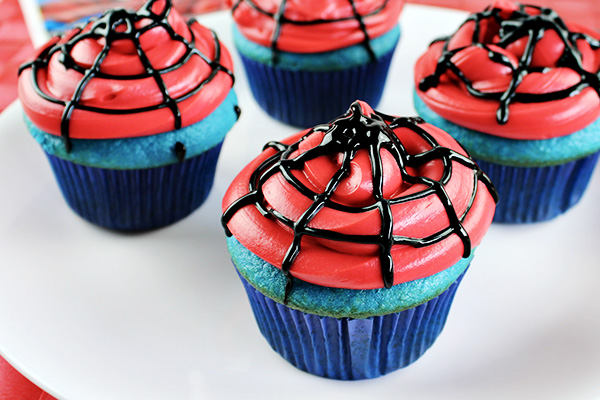
Your Easy Spiderman Cupcakes are now ready for a movie night or for a Spider-Man birthday party!
Easy Spiderman Cupcakes
-
- Cake Mix (Pillsbury Funfetti Aqua Blue Cake Mix or you can use a box of white cake mix and dye it blue)
-
- Eggs (according to cake mix package instructions)
-
- Water (according to cake mix package instructions)
-
- Vegetable Oil (according to cake mix package instructions)
-
- White Icing
-
- Red Food Dye
- Black Gel Icing
-
- Mix cake mix with other necessary ingredients according to the cake mix box.
-
- Line cupcake pan with cupcake liners. Pour cupcake batter into liners and bake according to cake mix instructions. Let cupcakes cool.
-
- Mix white frosting with a few drops of the red food dye. Stir until red dye is incorporated into the frosting. If needed, add a few more drops to achieve your desired color. Spoon the red icing into an icing bag or a plastic zipper-style bag. Cut the corner of the bag (or the tip of the icing bag). If you wish, you can use a large size Wilton decorating tip.
-
- Frost each cupcake by squeezing a mound of icing in the center of the cupcake. Squeeze the bag to push out more frosting and apply it around the mound of frosting. Continue adding frosting in 2-4 more layers, making each round slightly smaller than the previous one to form a peak at the top of the cupcake.
- Use the black icing gel to create a spider web by drawing 3 circles on top and then about 8 lines across the circles.
Leave a Reply