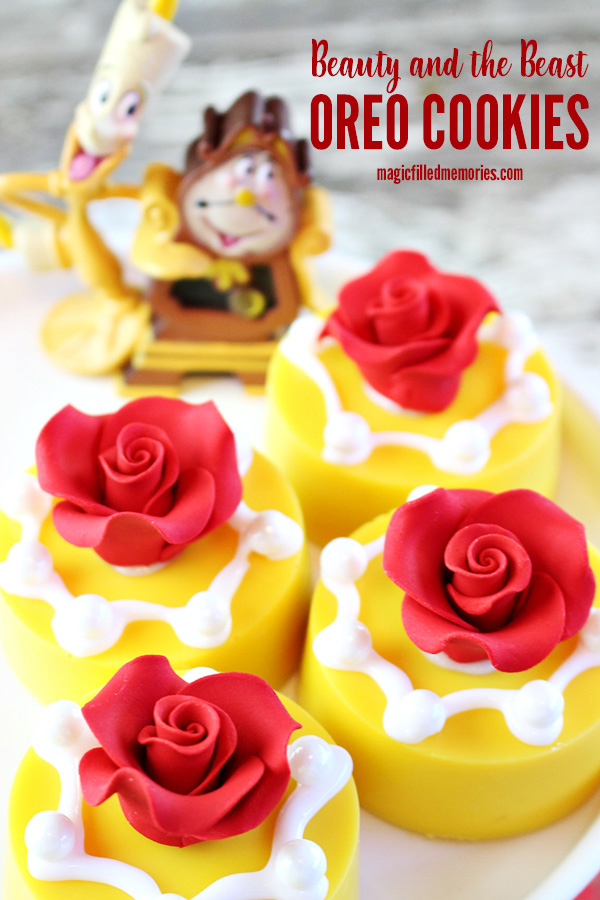
These Disney’s Beauty and the Beast Rose Oreo Cookies are easy to make for a Beauty and the Beast birthday party or movie night!
This post contains affiliate links to retailers for your convenience. We earn compensation from qualifying purchases from these links. Click here to read our full disclosure policy.
Sweet treats inspired by favorite movies and characters are so much fun and we’re very excited to share this idea with you!
Way back on November 22, 1991, the animated movie, Disney’s Beauty and the Beast premiered in theaters. It’s a movie that is considered the childhood of many of today’s millennials. Our two oldest kids watched it time and time again — on a VHS tape, of course.
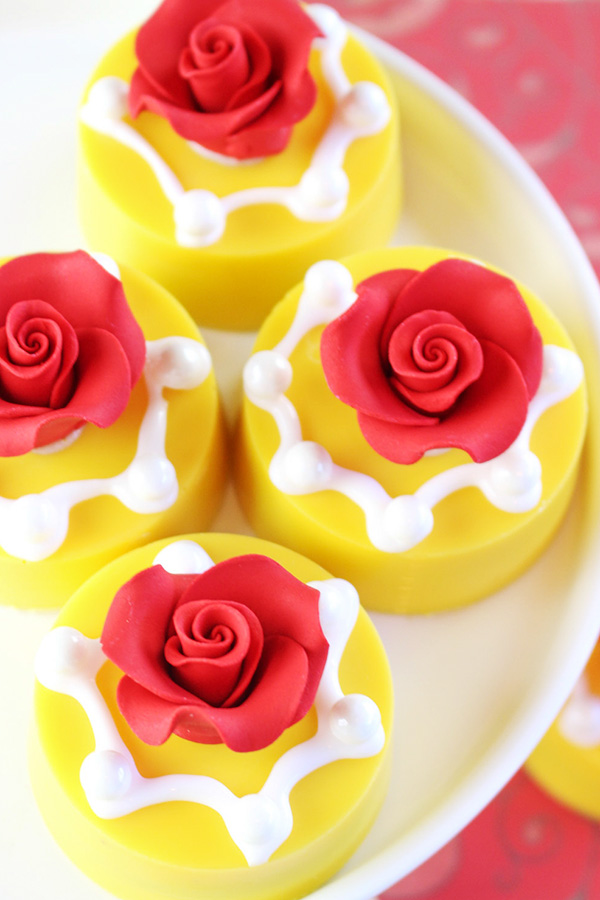
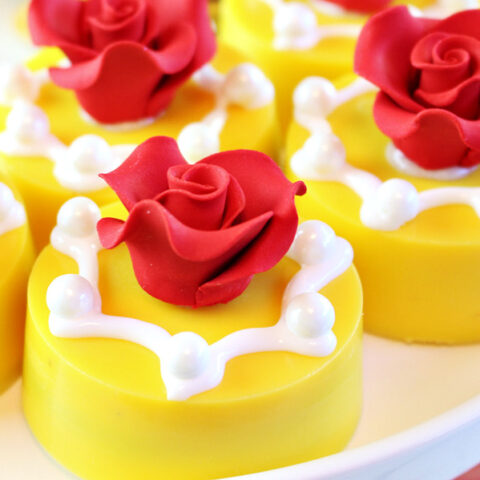
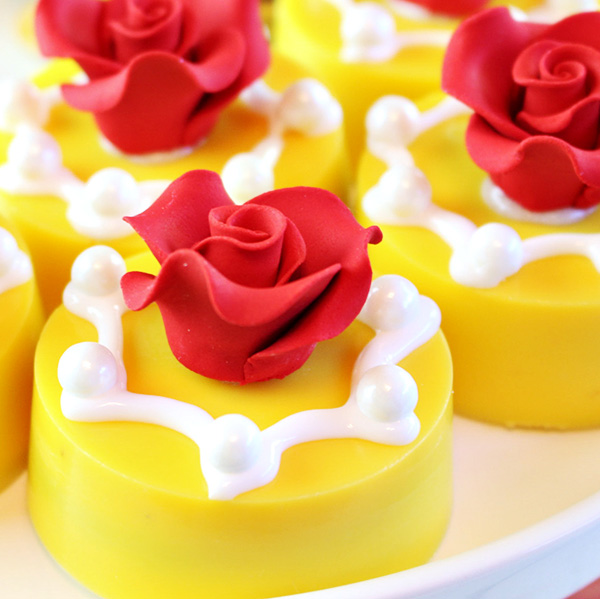
Today we’ll show you how to make these elegant Beauty and the Beast Chocolate Dipped Oreo Cookies! They are very easy to make and they look beautiful when set out on a dessert table.
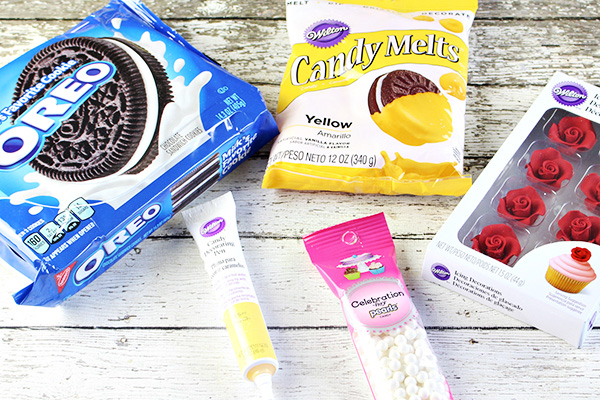
To make this Beauty and the Beast party idea, you’ll need just six items.
Beauty and the Beast Rose Oreo Cookies Supplies
- OREO Cookies
- OREO Cookie Mold
- Wilton Candy Melts (Yellow)
- Wilton Rose Decorations
- Wilton White Gel Tube
- Sweetworks Candy Pearls
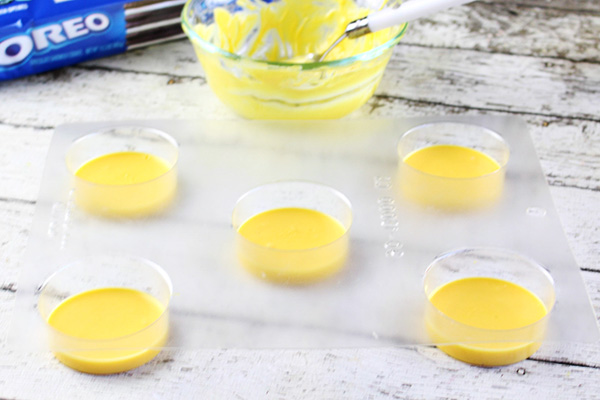
To get started, melt the Wilton Candy Melts (in yellow) according to package instructions. Add about 2 tablespoons of the melted candy melts into the bottom of each cookie mold.
NOTE: The OREO Cookie Mold pictured below is the PERFECT size for making dipped or chocolate-covered Oreos. They fit well in the round sections, leaving just enough room for melted chocolate to surround the OREO.
Next, lay a regular-sized OREO cookie on top of the melted candy melts. No need to press it in, just lay it centered in the mold on top of the melted mixture.
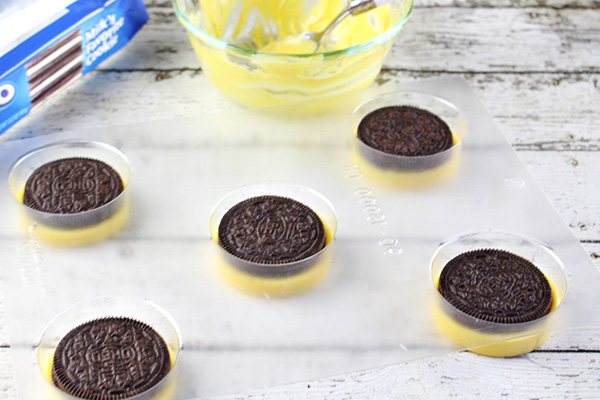
Top the OREO cookies in the mold with more of the melted yellow candy melts until they are completely covered. Be sure to top each one with about the same amount of mixture (so that they are the same size). Be sure that you don’t exceed the top of the candy mold or you’ll end up with a mess. Place in the refrigerator until firm (about 30-60 minutes).
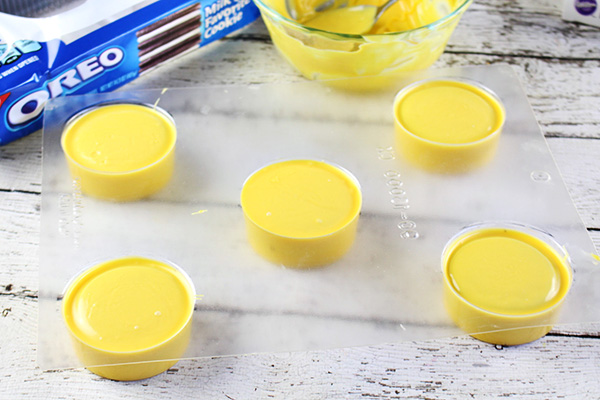
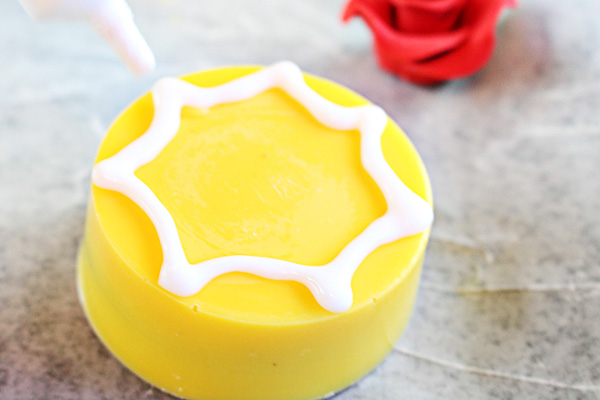
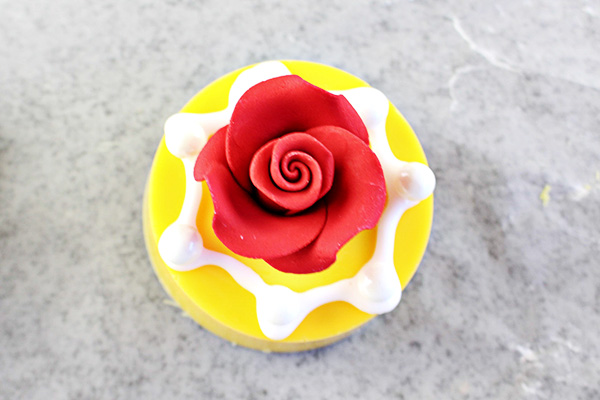
Line a cookie sheet or platter with wax or parchment paper. Gently pop the OREOs out of their molds and lay them on your prepared surface. Using the white icing gel tube, pipe an inside-out scalloped pattern around the top edge of each OREO, as you see in the photo below.
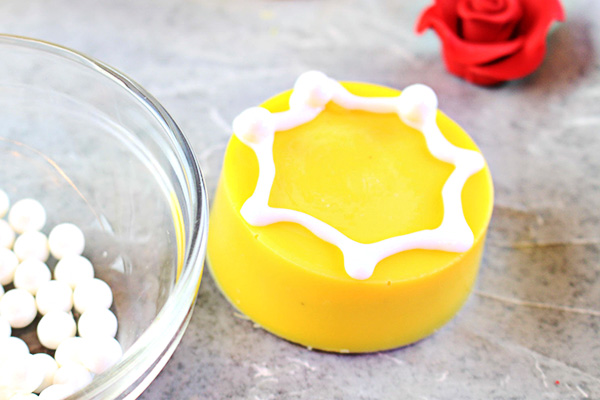
Now, place a white candy pearl right on each spot where each scalloped line meets (where it creates a point).
Using the white icing gel, squeeze a small amount to the very middle of each OREO. This will act as an edible “glue” for the red rose. Carefully place one of the sugared red roses on top of the white icing gel in the center.
Repeat the steps with the white icing, candy pearls, and red rose on each of your chocolate dipped OREOs.
Here’s the full list of supplies and instructions, ready for you to print. Not ready to make your Beauty and the Beast Dipped Oreo Cookies yet? Be sure to save this to your cookie or Disney board on Pinterest so you can find it easily later.
Beauty and the Beast Rose Oreo Cookies
These Disney's Beauty and the Beast Rose Oreo Cookies are easy to make for a Beauty and the Beast birthday party or movie night!
Ingredients
- 12 Oreo cookies (regular size)
- Oreo Cookie Mold
- 12 ounces Wilton Candy Melts (yellow)
- 12 Wilton Sugared Red Roses
- Wilton White Icing Gel
- White Candy Pearls
Instructions
- Warm the yellow candy melts according to package instructions.
- Place 2 tablespoons of the melted yellow candy into each of the molds (12 total).
- Place an Oreo cookie, centered, on top of the melted yellow chocolate.
- Spoon additional melted chocolate on top of each Oreo, up to the fill line.
- Chill for 30-60 minutes to allow the chocolate to completely set.
- Line a cookie sheet with wax or parchment paper. Gently pop the Oreos out of their molds and place them on your lined surface.
- With the white icing gel tube, pipe the icing in an inside-out scalloped pattern around the top edge of each Oreo. Place a candy pearl on the point where each scallop meets.
- Squeeze a small amount of white icing to the very middle of each Oreo to use as an edible "glue" for the red rose. Place one of the red roses on top of the white icing in the middle of the Oreo.
- Repeat the steps for the white icing, sugared pearls, and red roses on the remaining Oreos.
Recommended Products
As an Amazon Associate and member of other affiliate programs, I earn from qualifying purchases.


Leave a Reply